Note From the Editor: This week, Superhero Hype’s special guest cosplay correspondent, Ashlynne Dae, is wrapping up her two-part column that tackles Jean Grey’s obscure Atlantean costume from X-Factor Annual #4 which debuted during the Atlantis Attacks crossover.
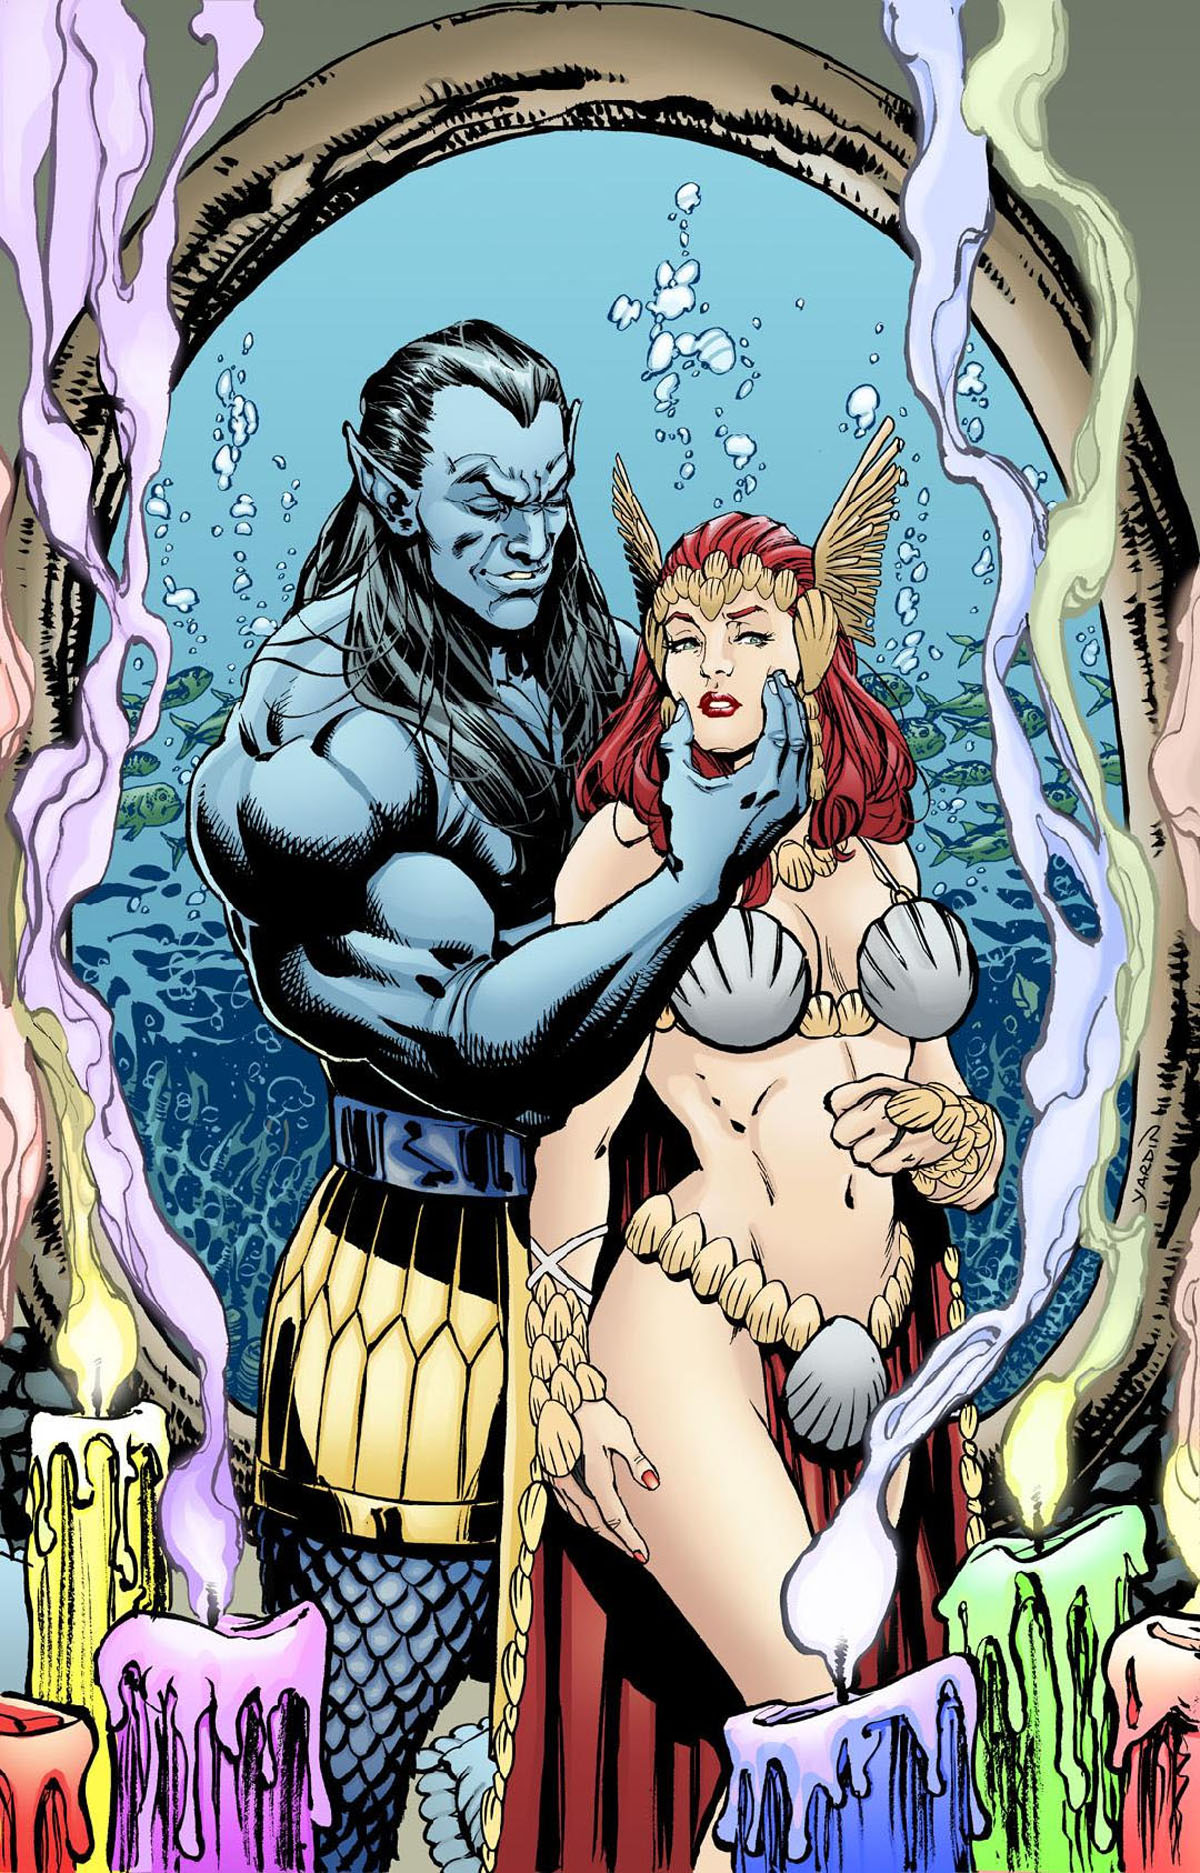
This costume may not be as popular as the Savage Land Rogue outfit, but John Byrne and Walt Simonson’s design has inspired some impressive fan art, including this pinup by Marvel cover artist David Yardin.
Last time, Ashlynne walked us through the surprisingly difficult stages of creating the costume’s silicone pieces. This week, Ashlynne is showing us the last steps in her creation process and officially unveiling her Atlantean Jean Grey costume.
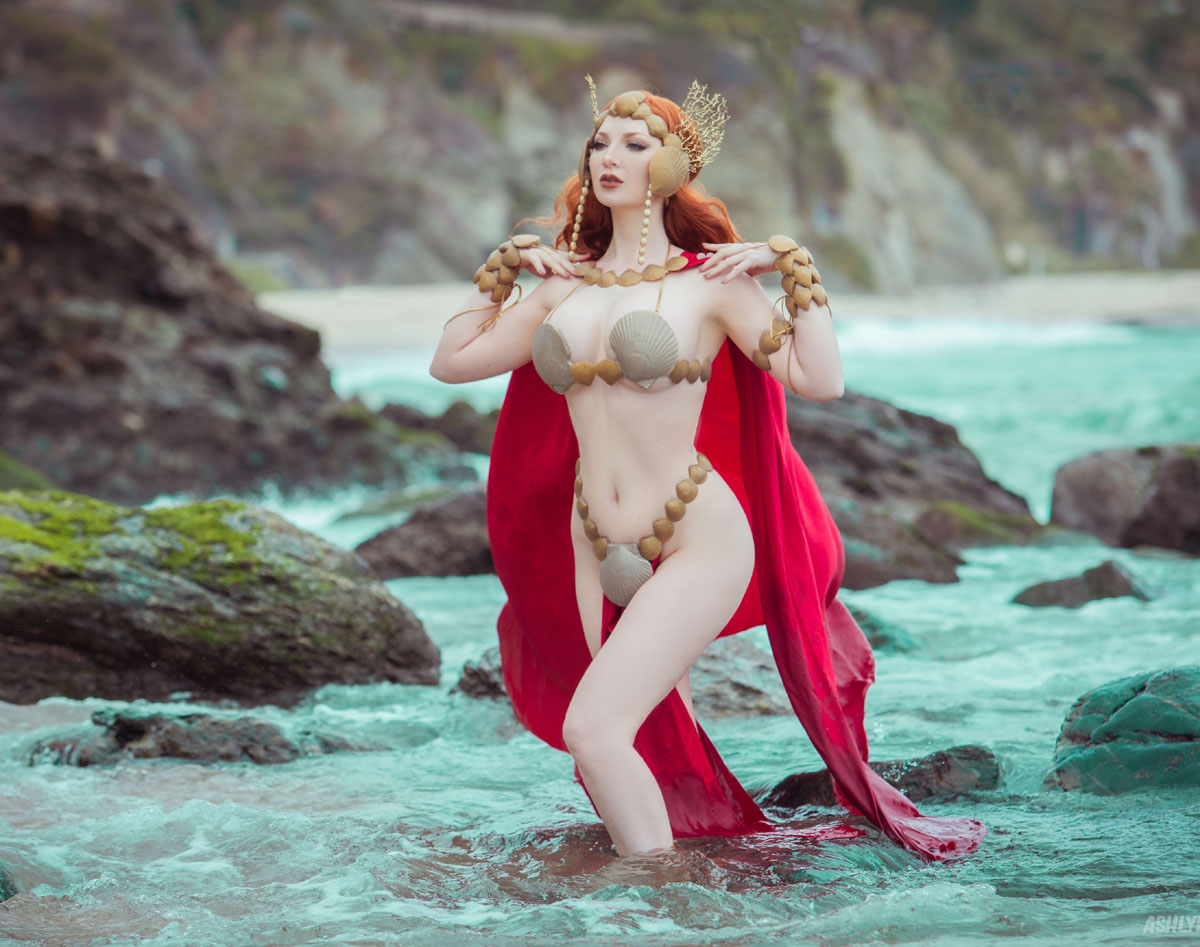
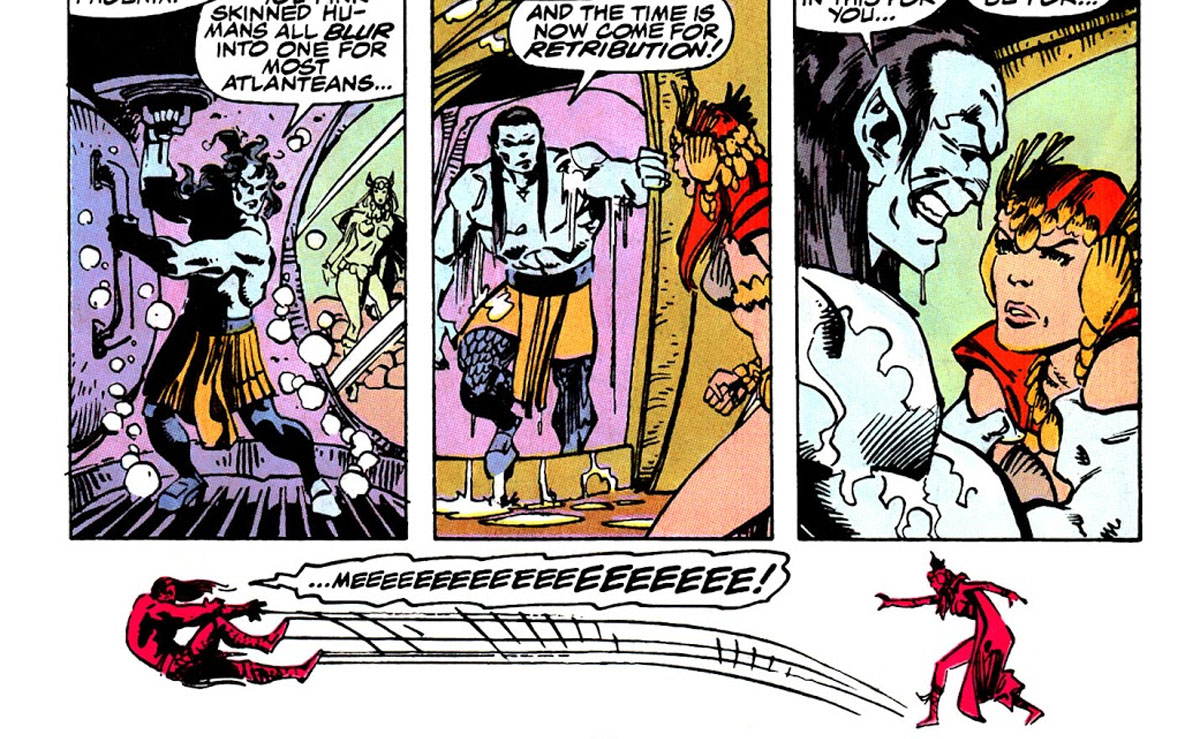
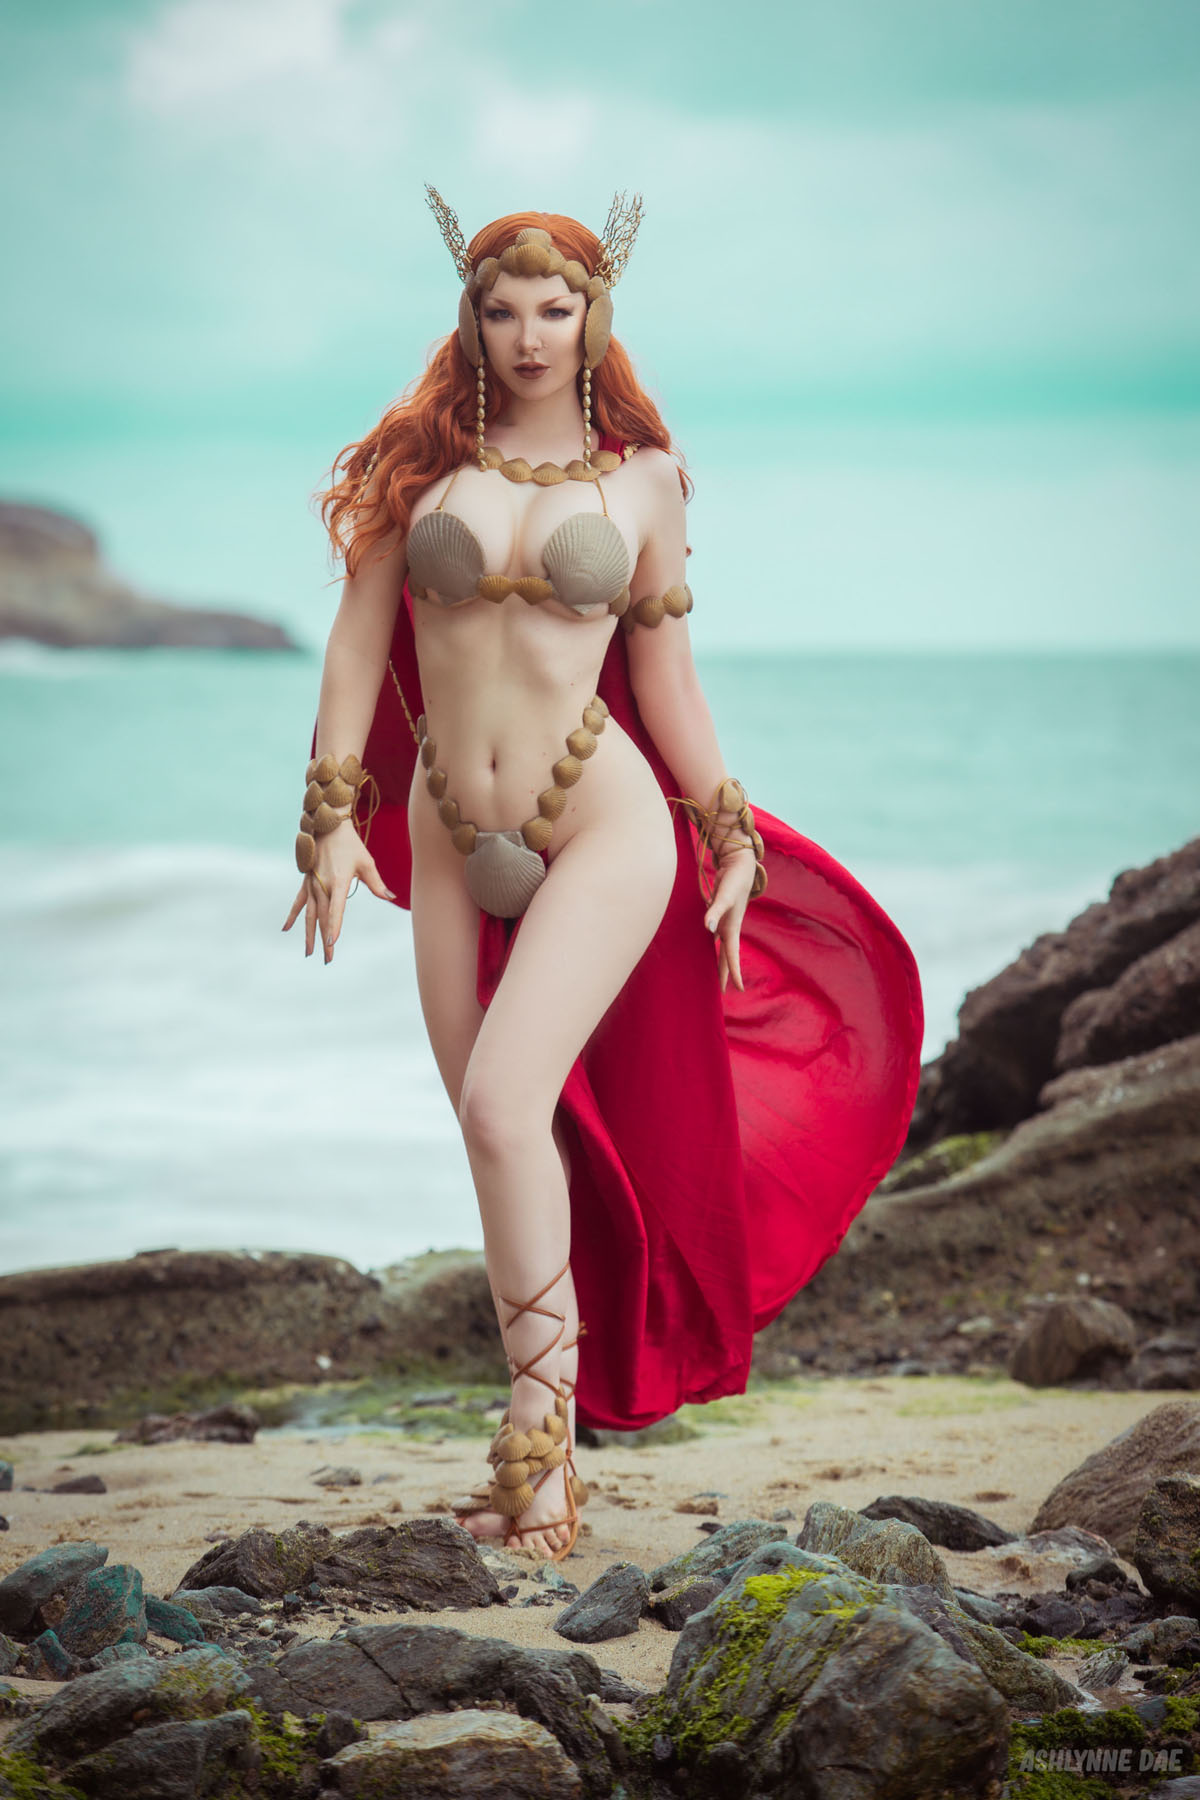
Hello lovely humans! Today, we’re debuting an obscure Jean Grey costume after walking you through the final stages of its creation. I don’t know how many of you out there remember this arc of Jean’s story, but she is abducted by Attuma and taken to Atlantis. She wakes up underwater in this admittedly wacky seashell getup and summarily kicks his butt for bothering her with his super creepy ambitions.
We love to see it.
In part 1 of this column, I covered how I went about making all of my clay sculpted pieces and the negative resin molds which I would use to create my finished silicone pieces. This time I’ll be going over how I finished the costume and brought it to life.
Let’s get into it!
RELATED: Superhero Hype Cosplay: Recreating Jean Grey’s Most Obscure Costume
This was a long and time consuming build, but I had a great time learning a lot of things while working on it. I hope you’ve enjoyed this build walkthrough.
Jean Grey will always be my absolute favorite X-Men character, so I’m happy to have been able to get another one of her costumes under my belt. Until next time, happy crafting!
Patreon: patreon.com/ashlynnedae
Official Site: ashlynnedae.com
Instagram: @ashlynnedae
Twitter: @ashlynne_dae
Fansly: fansly.com/ashlynnedae
Premium Only Fans: onlyfans.com/ashlynnedae
Free Only Fans: onlyfans.com/ashlynnedaefree
Photographer Credit:
Happy Trigger LA
Instagram: @happytriggerla
Only Fans: onlyfans.com/happytrigger
Atlantean Jean Grey Part 2
-
Atlantean Jean Grey Part 2 #1
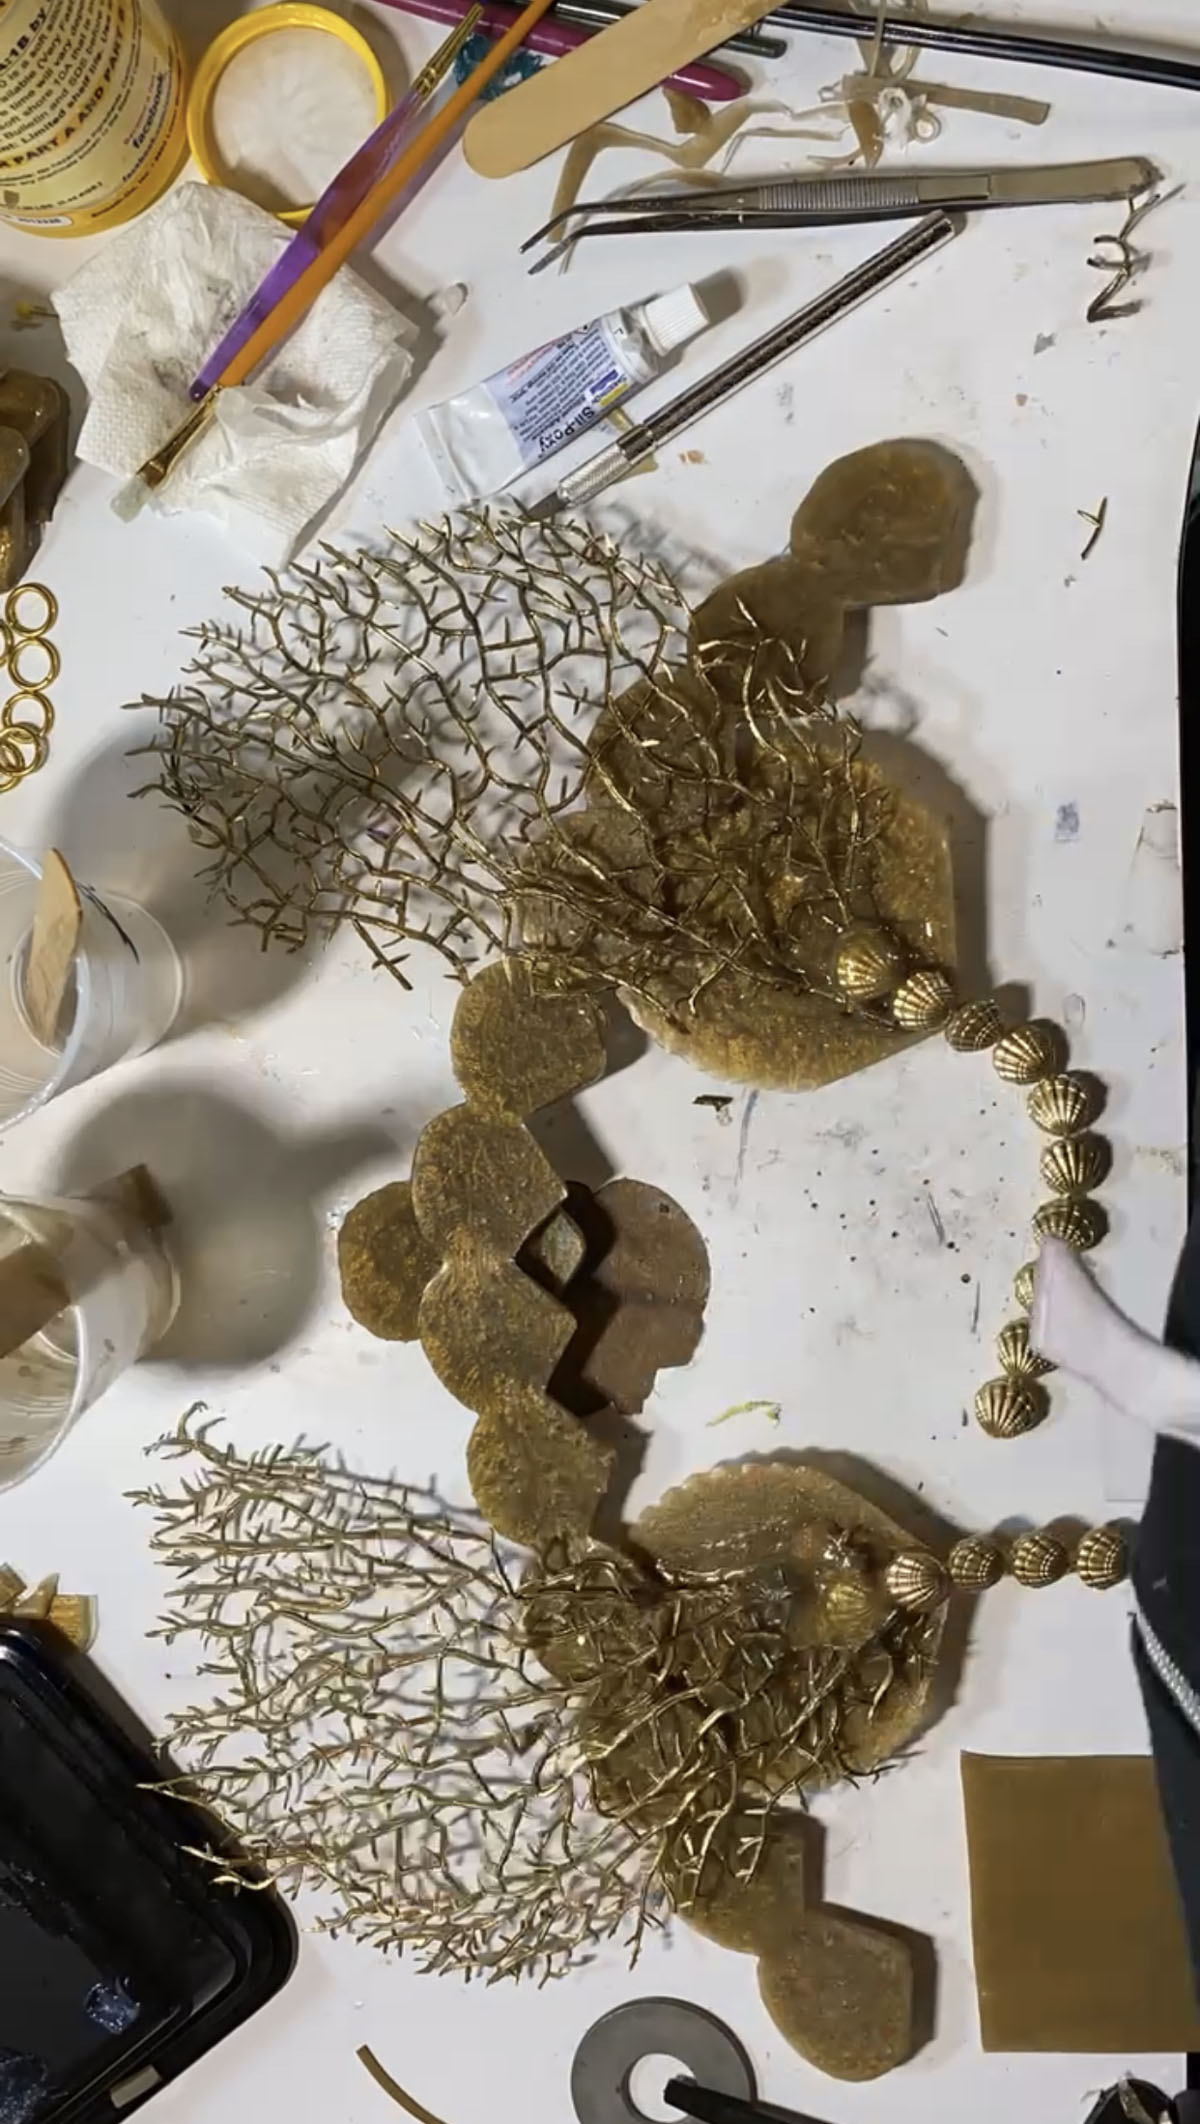
For the headdress, I used adhesive to attach a gold elastic. I used one long strip of shells for that, the two ear shells I made using the large bra shells that I only filled two thirds of the way full, and some small individual shells to layer at the center.
Funnily enough, for the first ear shell, I mistakenly grabbed my silicone mold instead of my resin one and poured the Dragon Skin directly in there. I realized my mistake after it had semi cured, so I was able to pull it with a bit of work. But I’m glad I caught it before it fully cured and bonded!
I ended up using a piece of faux coral fish tank decorations I painted gold for the ear fans, and some of the cape trim which I glued together for the dangling shells.
-
Atlantean Jean Grey Part 2 #2
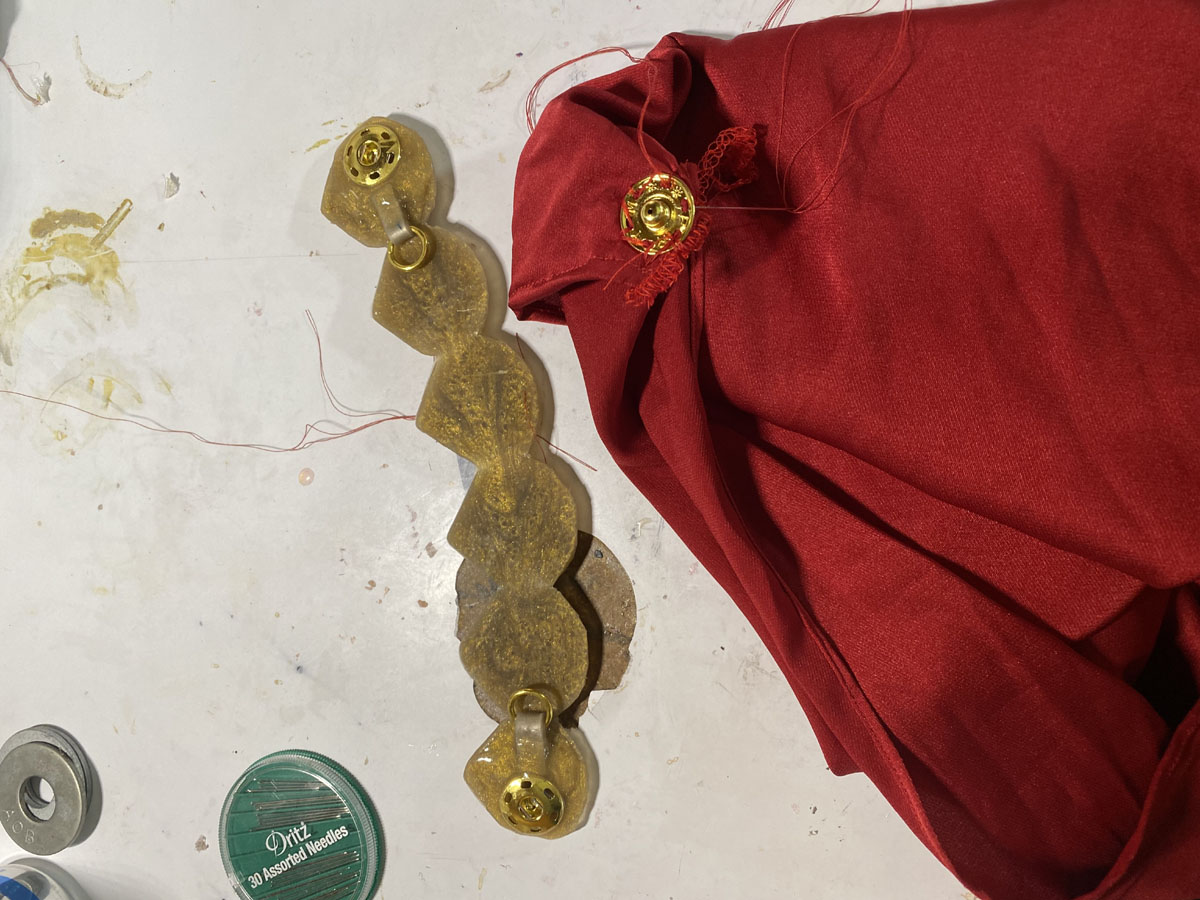
Finally I poured some dragon skin on the back to attach some large snaps onto the shoulder piece, so that it would be able to hold the weight of the cape.
If I had been thinking of it, I could have let the silicone semi cure and then press the snaps onto the back. But I completely forgot to do that. Such is life!
Now that most of the silicone pieces were constructed, I could move onto the fabric parts.
-
Atlantean Jean Grey Part 2 #3
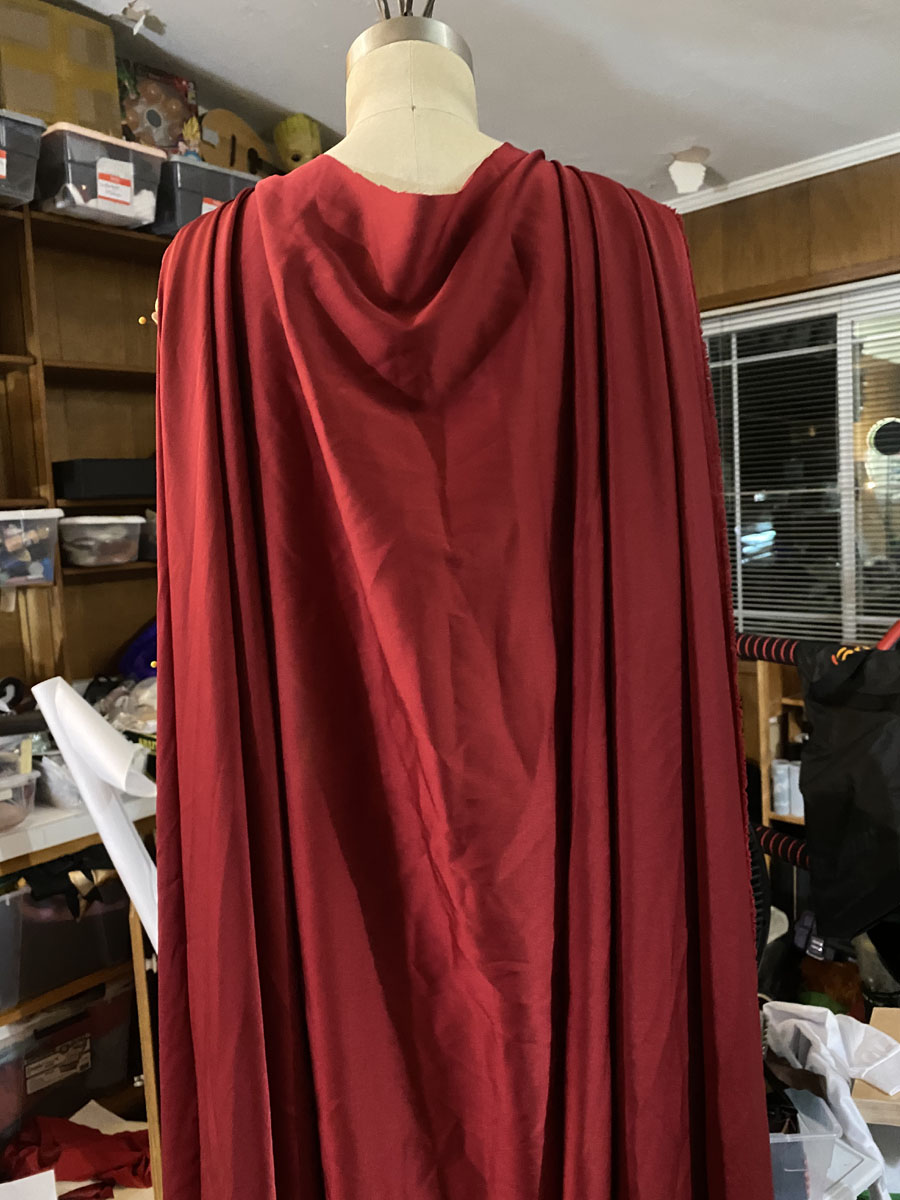
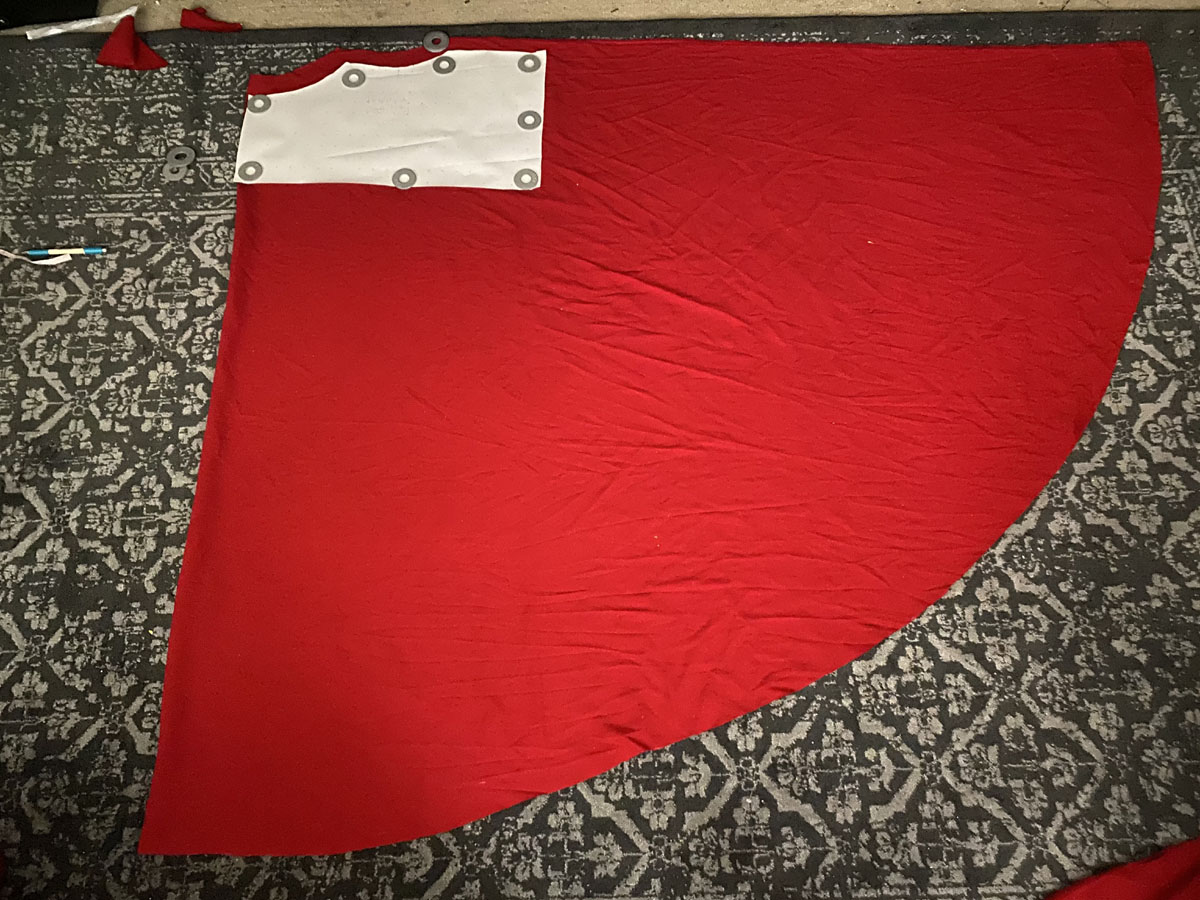
First up, I cut out my cape. I’ve gone through this process several times before, so I won’t spend too much time on it. But this one is a draped circle cape, so it is just a bit different. The pattern was created by calculating how much drape I wanted, which is the first curve pictured, and how full I wanted the pleats, which is the second curve.
Then, follow the standard procedure for making a half circle cape, pop a hem on it, and fold the pleats into place and you have a draped cape.
-
Atlantean Jean Grey Part 2 #4
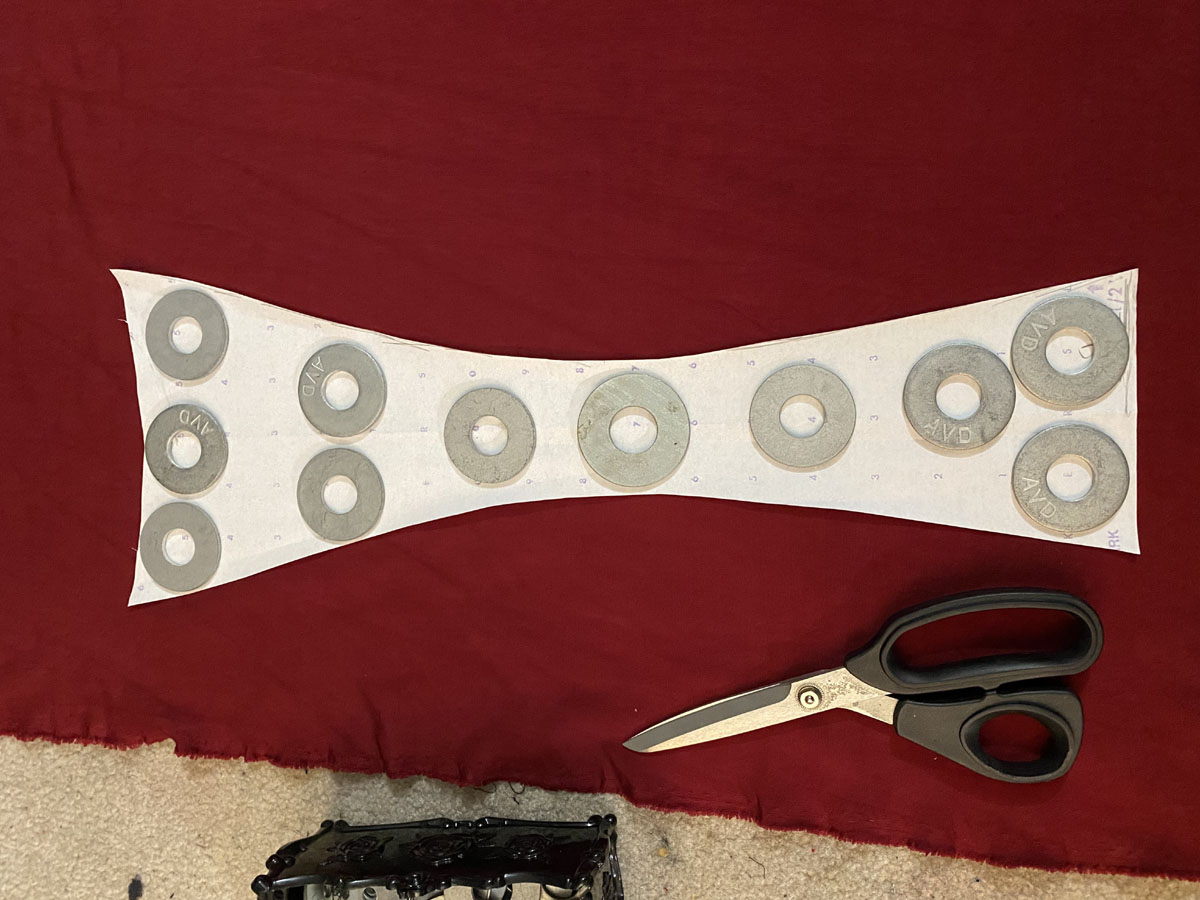
Next, I created the draped skirt panel and the panty that attaches to it and the belt. The panel is simply a rectangle that has a slight cowl to it in the center.
I made it about twice as wide as I wanted the finished width to be, so that when attached only at the corners of the panel, it would drape prettily in the center. I simply stitched two panels together at the right sides leaving the top open, turned it out and pressed.
For the panty, I used a high waisted panty pattern I have and simply removed the sides.
-
Atlantean Jean Grey Part 2 #5

This works super well with costumes that have no fabric sides. but you still need to cover all the important parts!
I’ve used this method on all my Huttslayer Leia variations as well. You simply need to hem the sides and tops, I stitched a lightweight swim elastic into my side hems for stability.
-
Atlantean Jean Grey Part 2 #6
Both the skirt and the panty velcro on and off the belt using silicone adhesive and a reinforcement to attach the other side of the Velcro to the belt.
-
Atlantean Jean Grey Part 2 #7
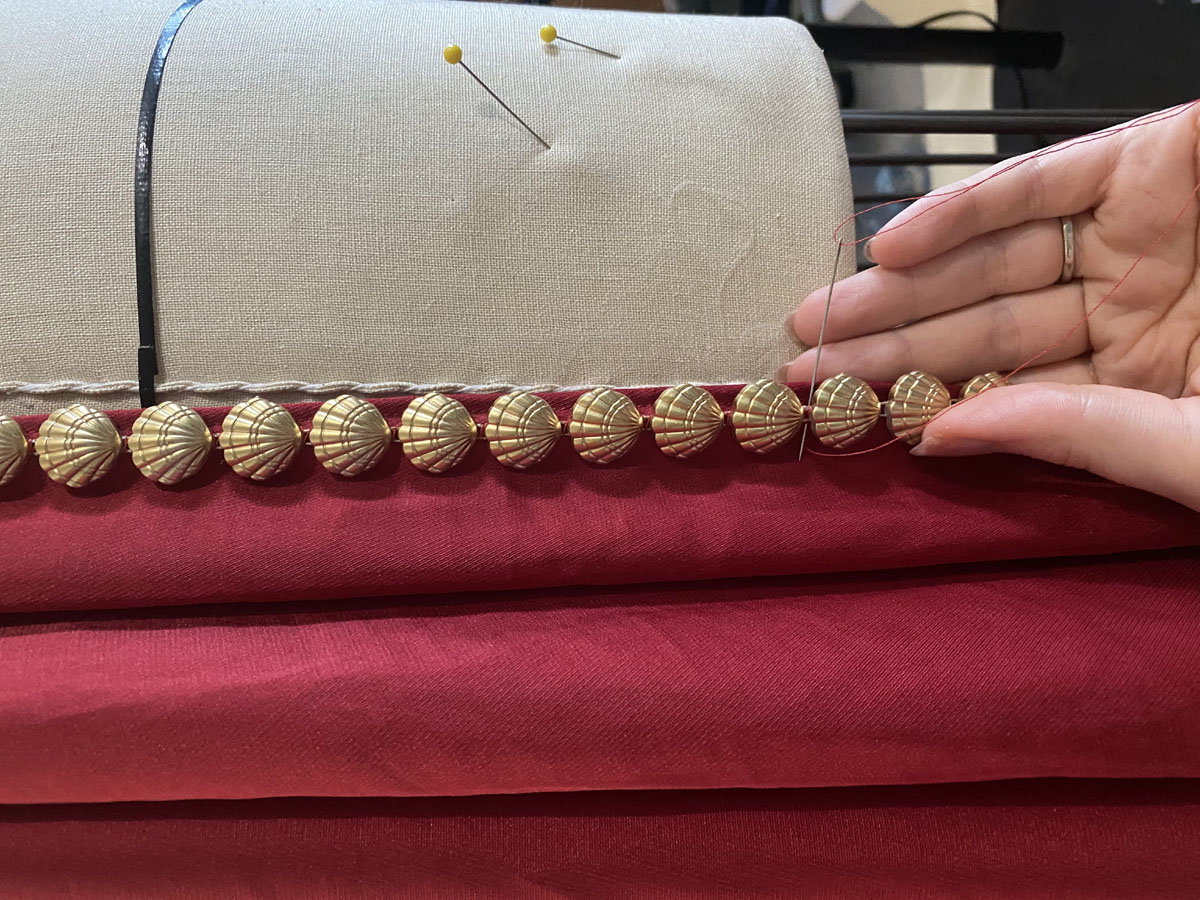
I stitched some shell trim I painted gold onto the cape by hand, hiding the stitches under the shells, and stitched the other side of the snaps to the cape pleats.
-
Atlantean Jean Grey Part 2 #8
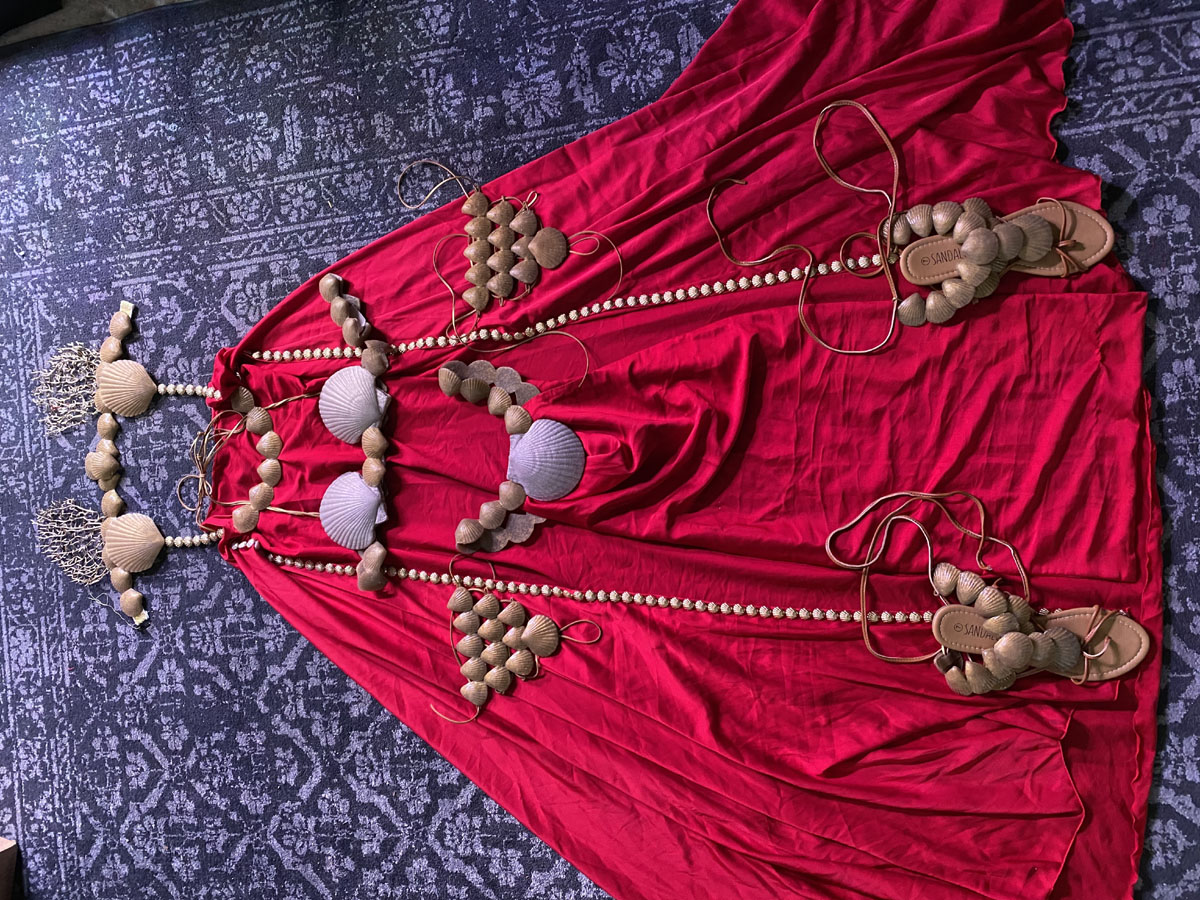
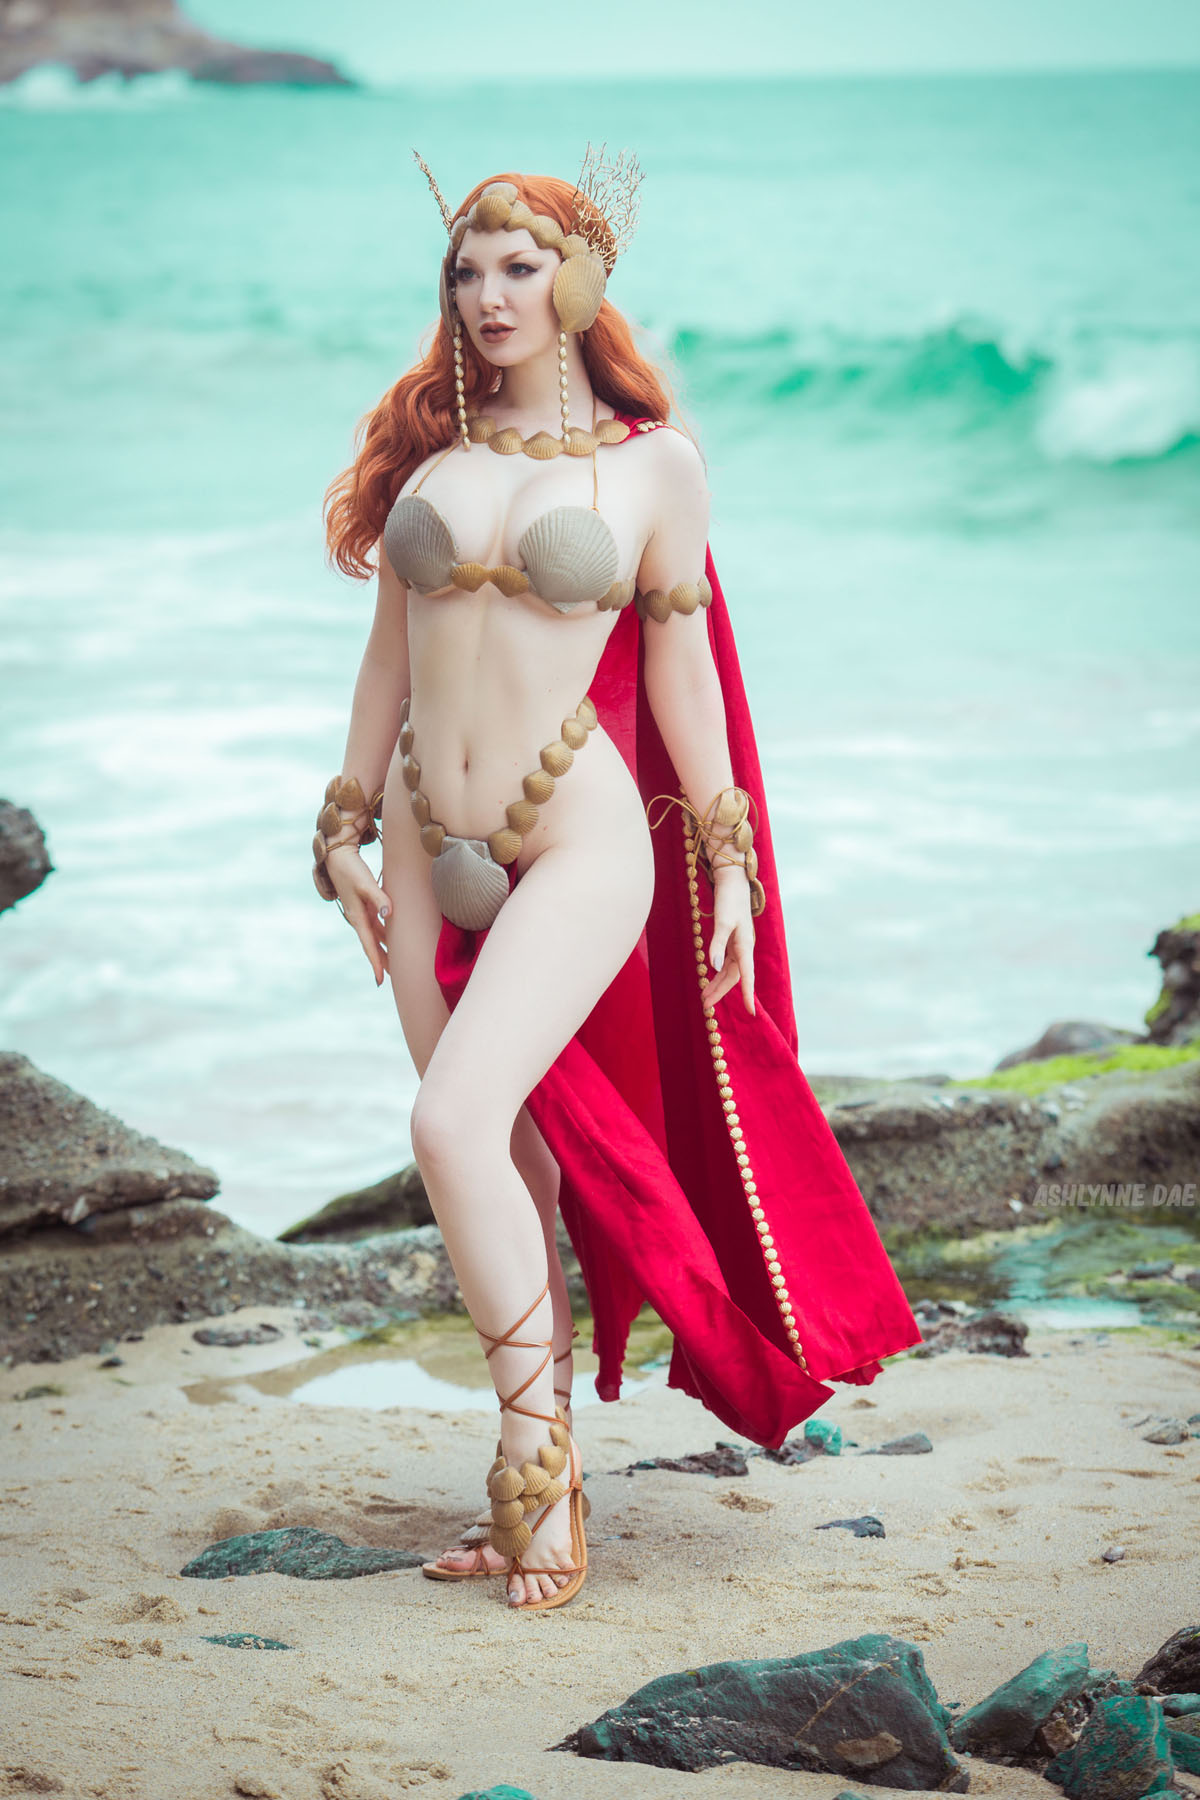
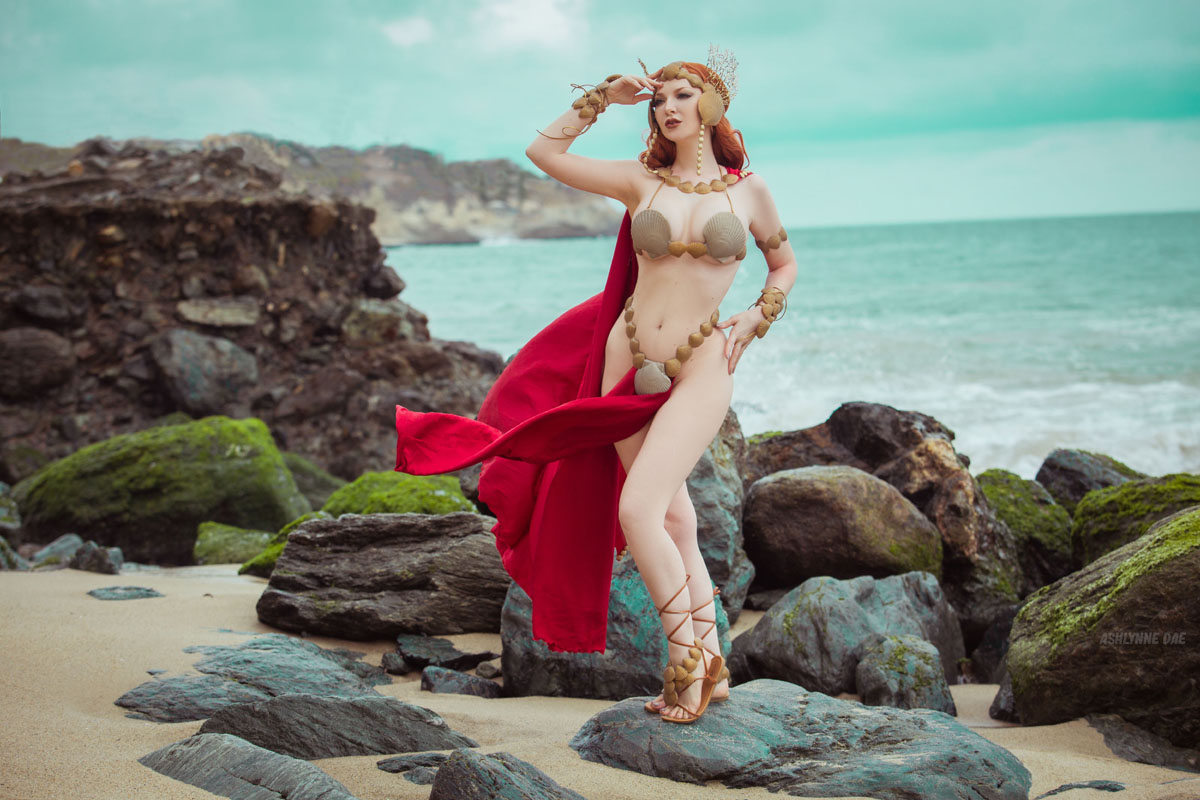
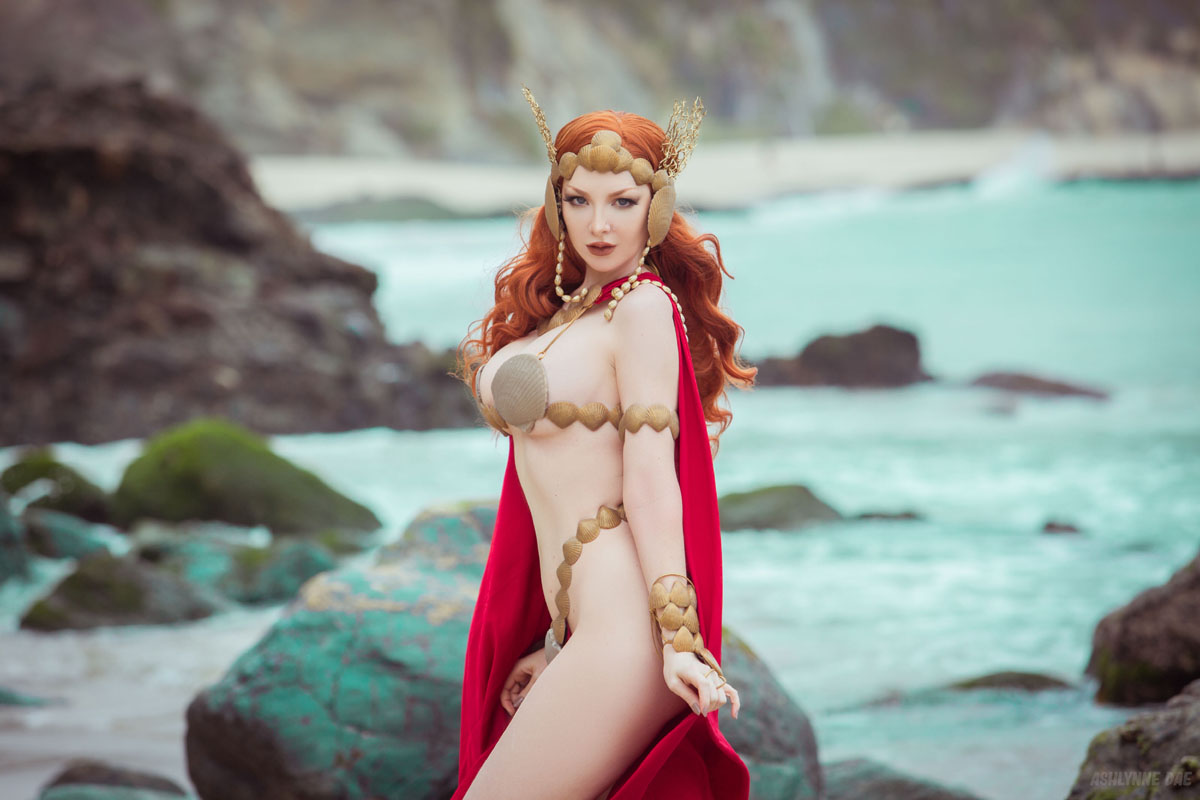
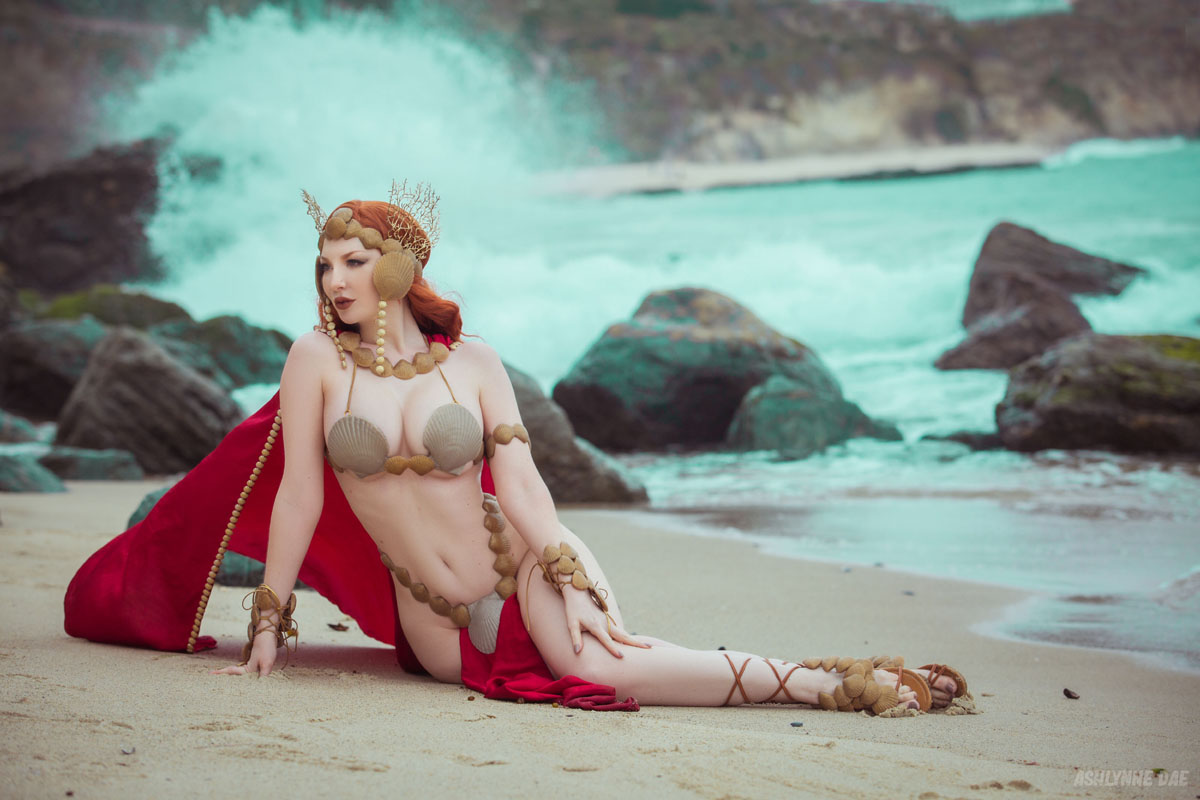
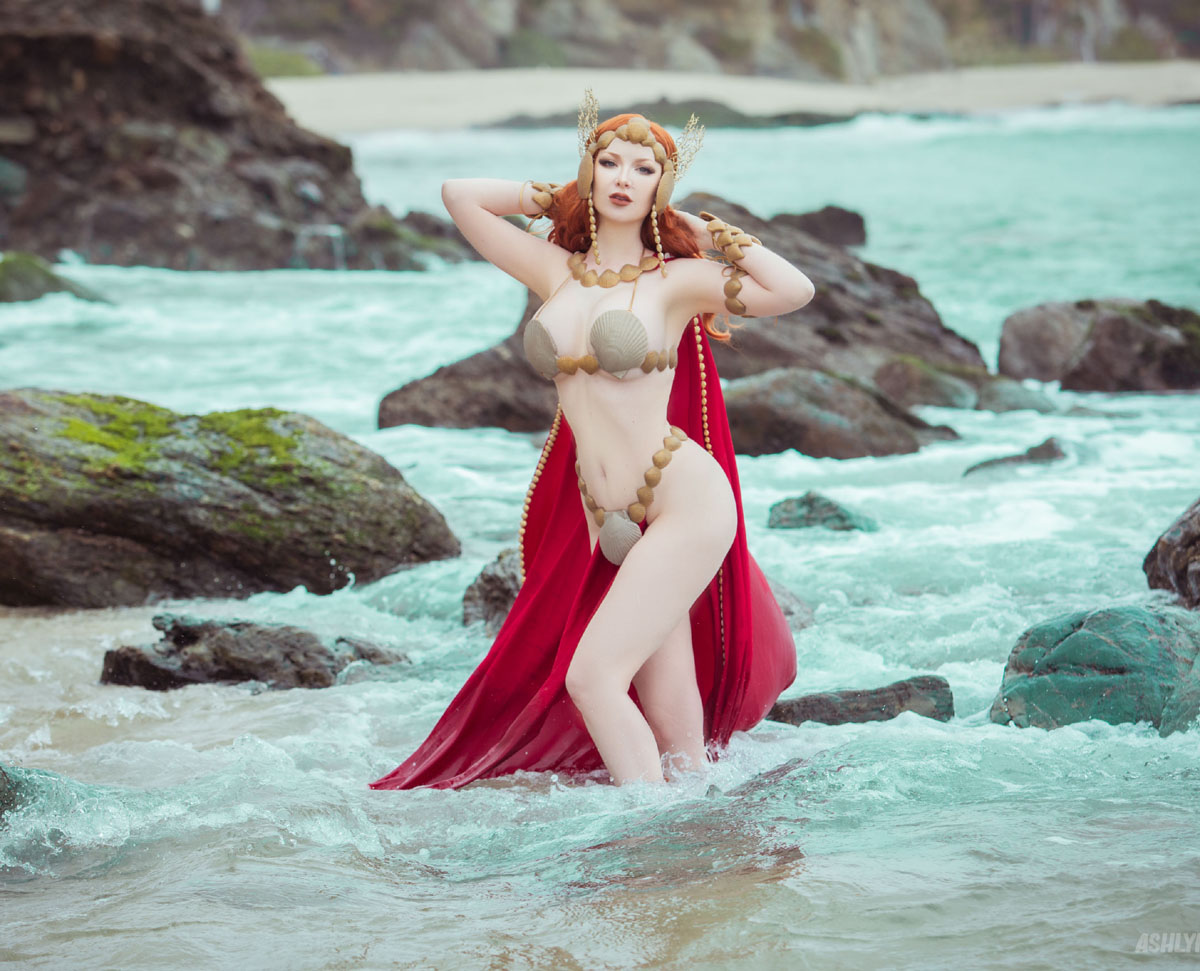
And with that, the costume was complete!
-
Atlantean Jean Grey Part 2 #9
-
Atlantean Jean Grey Part 2 #10

-
Atlantean Jean Grey Part 2 #11
-
Atlantean Jean Grey Part 2 #12
-
Atlantean Jean Grey Part 2 #13
-
Atlantean Jean Grey Part 2 #14
-
Atlantean Jean Grey Part 2 #15
-
Atlantean Jean Grey Part 2 #16